参考文章:
十分钟教你配置frp实现内网穿透
CentOS7 安装frp与开机启动
frp实现内网穿透(centos7)
下载安装
官方项目地址:https://github.com/fatedier/frp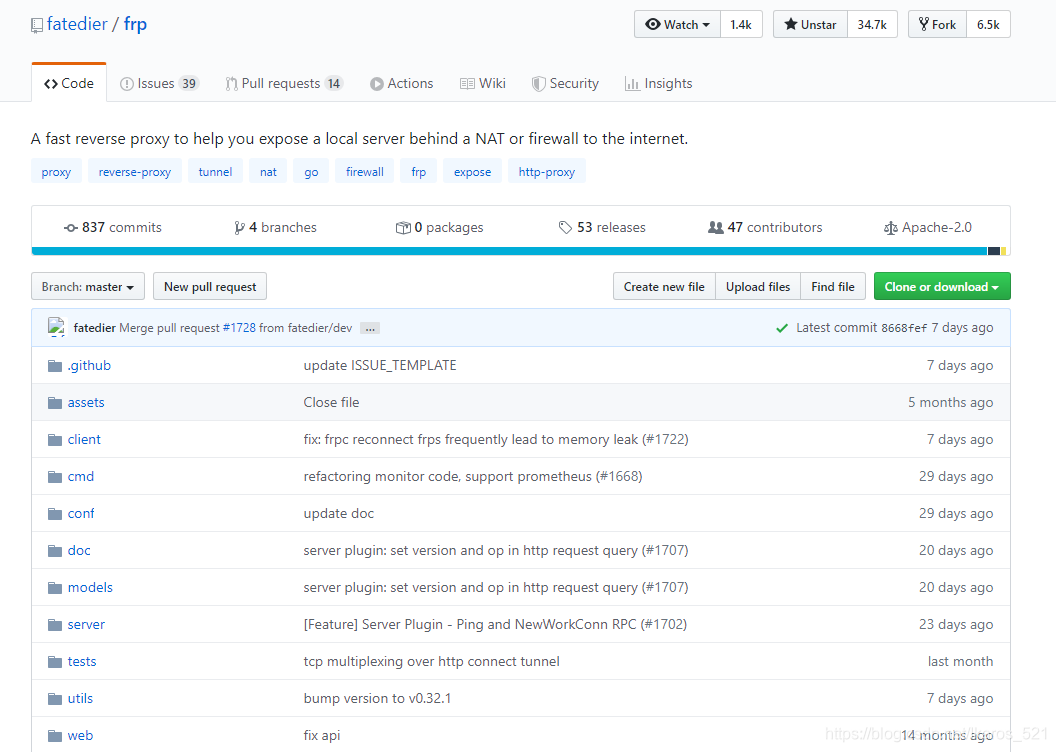
下载
这里下载的是0.32.1版
wget https://github.com/fatedier/frp/releases/download/v0.32.1/frp_0.32.1_linux_amd64.tar.gz解压
tar -xvf frp_0.32.1_linux_amd64.tar.gz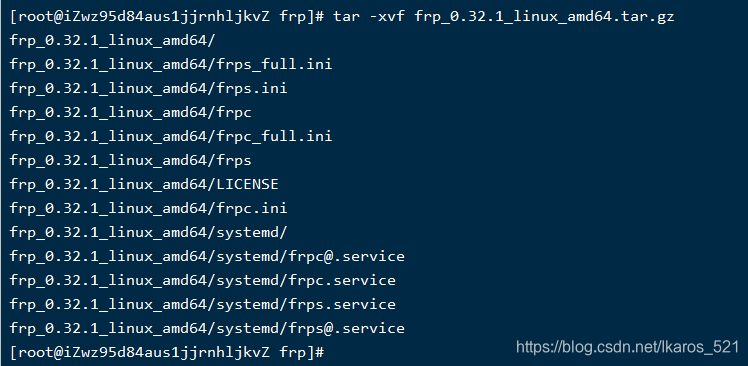
移动至 /usr/local
新建个文件夹mkdir /usr/local/frp
全部移动到 /usr/local/frp 里面 mv frp_0.32.1_linux_amd64/* /usr/local/frp/
配置systemctl来控制,服务端运行
vim打开文件 vim /usr/lib/systemd/system/frp.service
写入以下内容,注意上文的路径和此处有关。这里是启动的服务端。
[Unit]
Description=The nginx HTTP and reverse proxy server
After=network.target remote-fs.target nss-lookup.target

[Service]
Type=simple
ExecStart=/usr/local/frp/frps -c /usr/local/frp/frps.ini
KillSignal=SIGQUIT
TimeoutStopSec=5
KillMode=process
PrivateTmp=true
StandardOutput=syslog
StandardError=inherit

[Install]
WantedBy=multi-user.target
重新加载服务的配置文件 systemctl daemon-reload
现在就可以用 systemctl 套装来控制 frp 了。
启动/停止/重启,查看状态,设置开机自启/关闭开机自启
systemctl start frp
systemctl stop frp
systemctl restart frp
systemctl status frp
systemctl enable frp
systemctl disable frp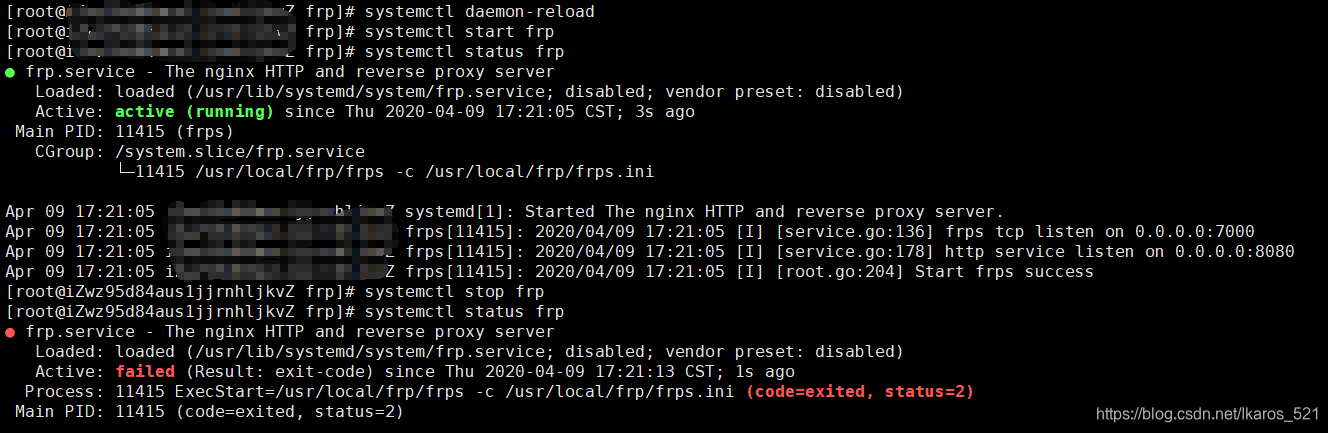
具体配置
参考文章:frp实现内网穿透(centos7)
服务端 frps.ini, 客户端 frpc.ini
服务端
[common] 必须设置
bind_port 是自己设定的frp服务端端口
vhost_http_port 是自己设定的http访问端口
[ssh] ssh反向代理(不是必须设置)
listen_port 是自己设定的ssh访问端口
auth_token用于身份认证(以下皆是)。
[web] http反向代理[]里的内容可以自己设定,但是客户端和服务端必须要对应(如[aaa],[bbb]);
type 为服务类型,可以设为http,https
custom_domains为要映射的域名,记得域名的A记录要解析到外网主机的IP。
[web2]同上(可设置多个)
实例
[common]
bind_port = 7000
vhost_http_port = 80
[ssh]
listen_port = 6000
auth_token = 123
[web]
type = http
custom_domains = test1.a.com
auth_token = 123
[web2]
type = http
custom_domains = test2.a.com
auth_token = 123
客户端
[common]必填
server_addrfrp服务端的ip(也就是外网主机的IP)
server_portfrp服务端的bind_prot。
[ssh]
local_port客户端ssh端口。
[web]
type对应服务端配置
local_port客户端访问端口。
[web2]同上
实例
[common]
server_addr = 10.10.10.10
server_port = 7000
auth_token = 123
[ssh]
local_port = 22
[web]
type = http
local_port = 80
[web2]
type = http
local_port = 8080
直接运行服务端效果
安装Windows客户端
官方下载传送门:https://github.com/fatedier/frp/releases
现在已经更新到0.32.1了。github下载慢可以去这里下载http://diannaobos.com/frp/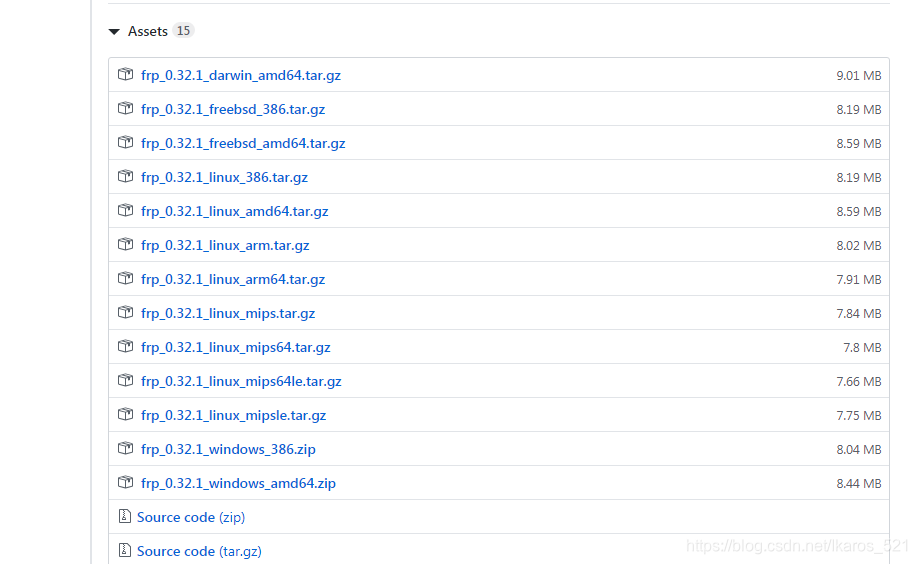

解压打开来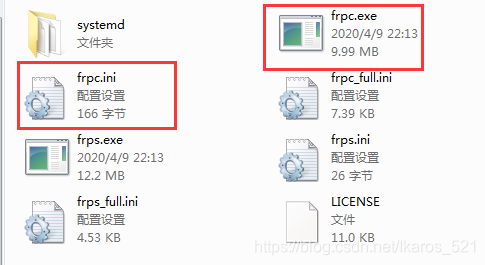
配置一下 frpc.ini ,type填的http也可以根据需要修改。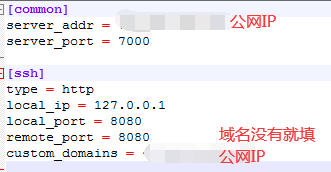
[common]
server_addr = <远程frp服务器ip>
server_port = 远程frp服务器端口
privilege_token = 远程frp服务器token

[http]
type = http
local_ip = 127.0.0.1
local_port = 本地端口号
remote_port = 远程frp服务器的http服务端口号
custom_domains = 配置的域名打开cmd,cd到这个路径,frpc.exe运行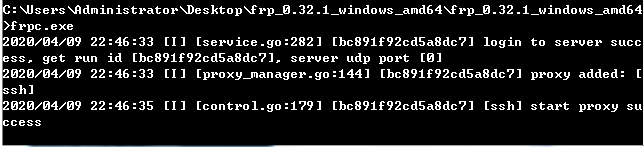
运行会打印信息,出错就自行调整吧。
实际使用
服务端配置
frps.ini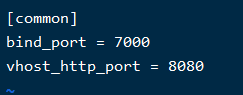
启动服务 systemctl restart frp
绑定本地7000端口,http访问端口8080,记得开放端口(安全组)。
客户端配置
frpc.ini
打开cmd,cd到这个路径,frpc.exe运行
看到打印成功了。
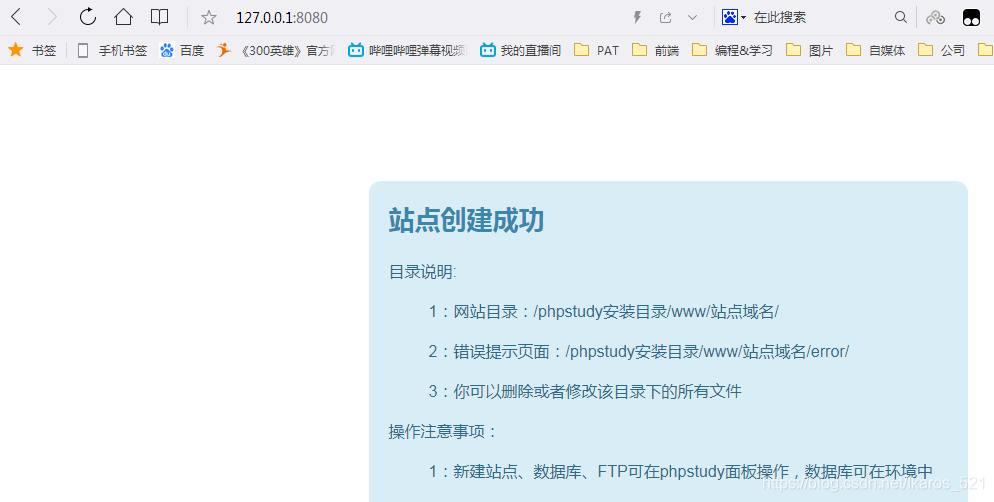
访问服务端的8080端口就相当于访问你本地的8080端口.
custom_domains:remote_port = local_ip:local_port我们打开浏览器,访问 域名加端口,我的配置没域名,所以是公网IP:端口,即公网IP:8080。看到本地的web项目了。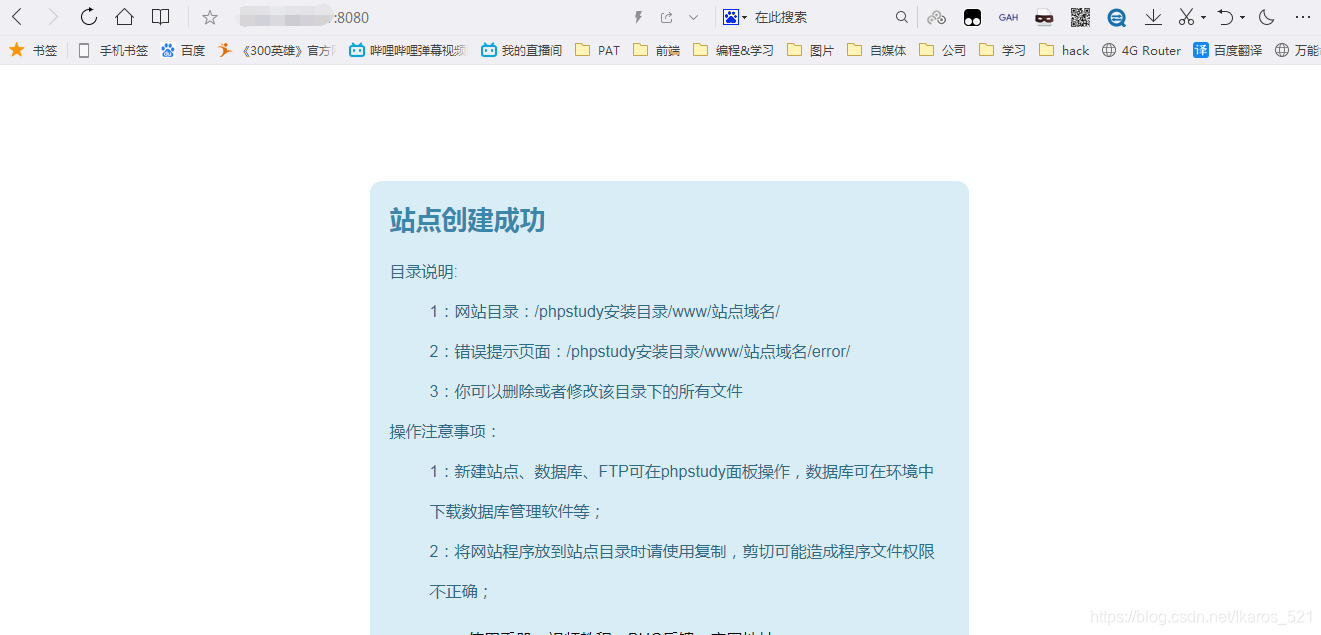
客户端web项目
我这里用的phpstudy,快速搭建的默认页面。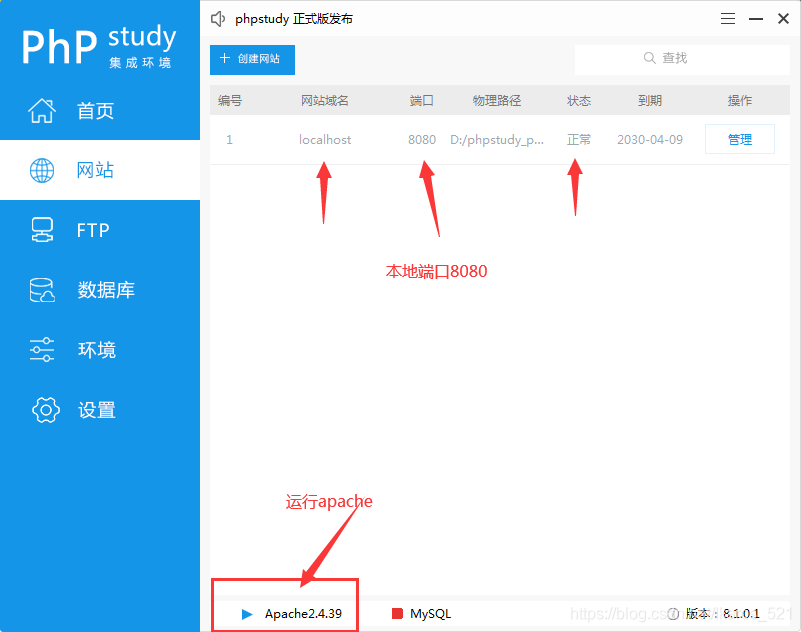
直接 localhost:8080 或 127.0.0.1:8080 即可访问